THE LK BLOG
Welcome to
THE LK BLOG
Welcome to
Did you know that the quality of the photos in your Etsy listings is the number one reason why people ultimately decide to purchase an item on Etsy? Photography may seem intimidating at first; however, once you learn the basics of product photography you’ll be taking clean, crisp photos in no time. Today we will cover 5 Etsy photography tips for your best Etsy listing photos. You will ensure your photography shows your products in their best light.
First things first, let’s talk about what kind of camera is best for product photography. The camera within most mobile phones can be one of the most powerful tools you have. When using natural light a mobile phone will surprise almost anyone with the quality of image it can produce.
If you prefer to have more versatility like true aperture control, and incredible still life photography, then I’d recommend the Nikon Z6, check it out here. I’ve used my Z6 for over a year and am in love with its usability and image quality. The photos are stunning. The Z6 is a mirrorless camera, which is a new technology that allows you to preview your image on the digital screen before you take the picture.
This is life-changing if you are new to professional photography. You can change your settings, like the ISO, and get a preview of what the image will look like before you take your shot. This mirrorless professional camera is different than the technology of the DSLR cameras. DSLR cameras have a reflex mirror inside them, which bounces light up into the optical viewfinder. In mirrorless cameras, the light goes directly into the image sensor. The Z6 comes with the snapbridge app for your phone which allows for remote photography, this is perfect for when you want to take photos of yourself holding your products. You can instantly download your photos to your phone via the camera’s wifi. You’ll have stunning photos in the palm of your hands!
You can take clean, crisp photos for your Etsy shop with some basic photography knowledge and practice. The kind of photos that will show your Etsy listings in their best light and encourage shoppers to purchase. Here are five Etsy photography tips that will up your photography game and convert more browsers to buyers!
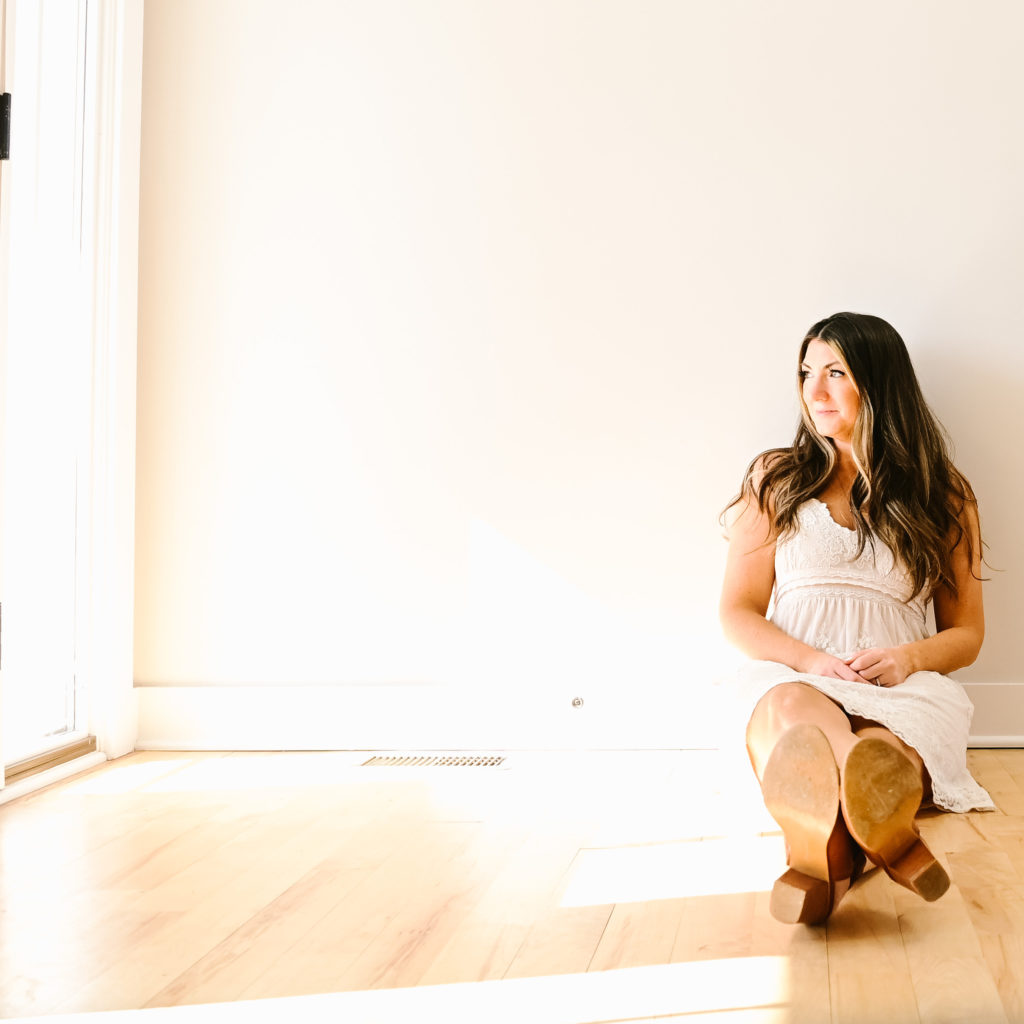
Photographing in good lighting is the number one secret to clear, crisp photos. It’s the most valuable of all the Etsy photography tips. Above all, natural light from the sun will be your best friend. Let the light come in from a window or doorway. Cloudy days are wonderful as the light is naturally diffused. If the sun is bright, position your object so the sun isn’t shining directly on the object. Here’s me in my favorite photography spot. I love taking my product photos with the natural light coming in my front door. My house faces south and the light coming in is just beautiful.
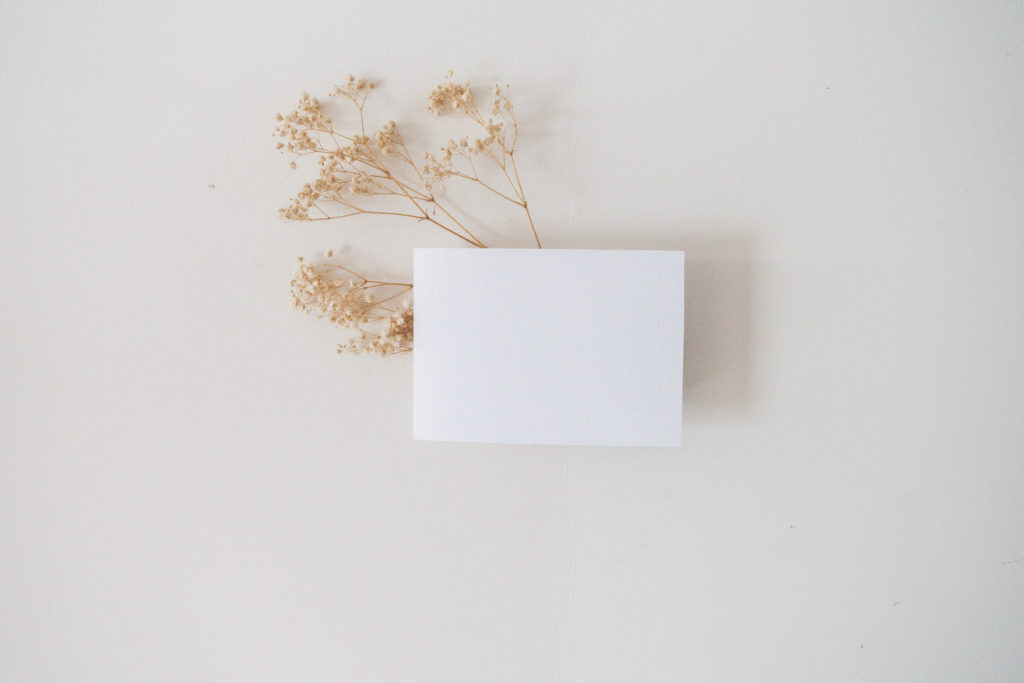
Light and bright backgrounds that are free from distractions will make your products shine. A large off-white posterboard from a local craft shop can be a clean backdrop for your products. I’ve placed the posterboard on the floor and am shooting from above in this picture.
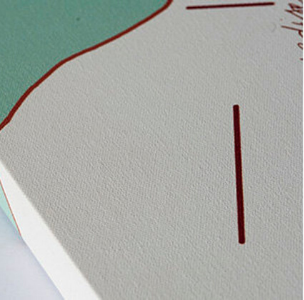
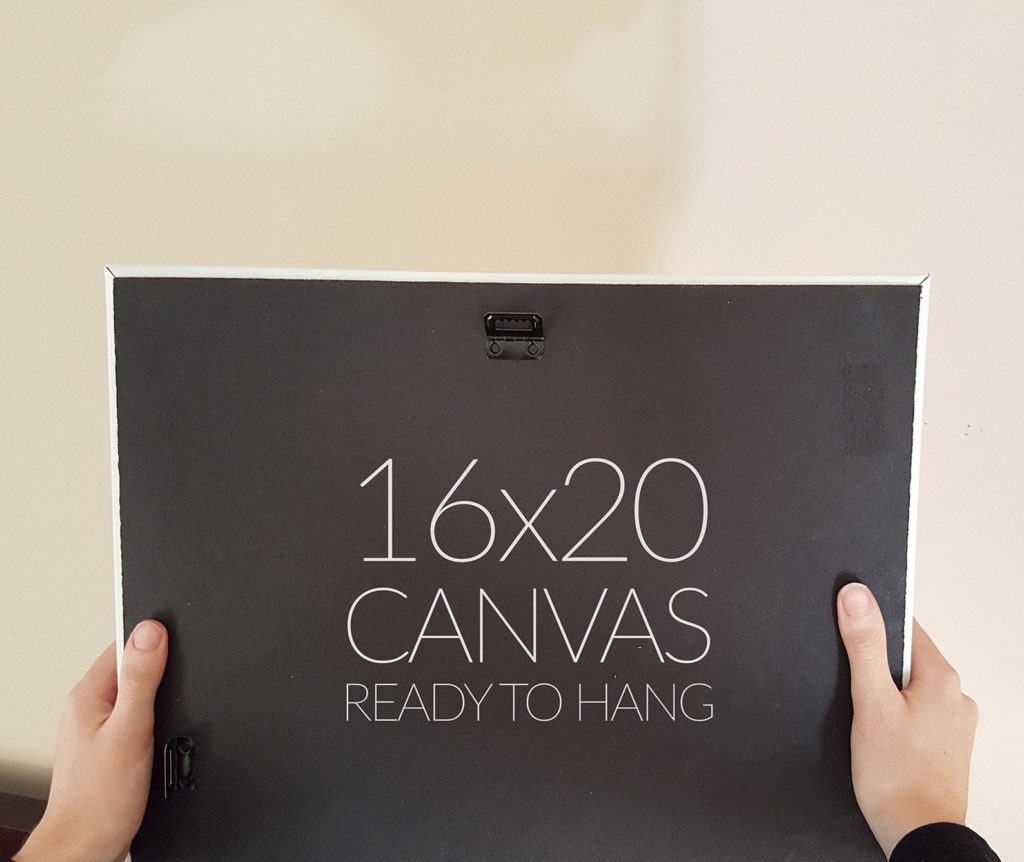
Make sure you are taking up-close detail photos, so close that you can see the texture. Ensure your camera is focusing on your product in the place you want to show the detail. The background can be out of focus, just ensure the focus point is on the detail of your product. When you take detail shots, you give the buyer a chance to experience the product as if they have touched it. This builds confidence in the buyer’s mind and makes them more likely to purchase your product. It’s best to take multiple detail shots at varying angles. I take photographs of the back of my products. When I shop in a store I naturally turn the item around, I want to give this opportunity to online shoppers in my Etsy shop.
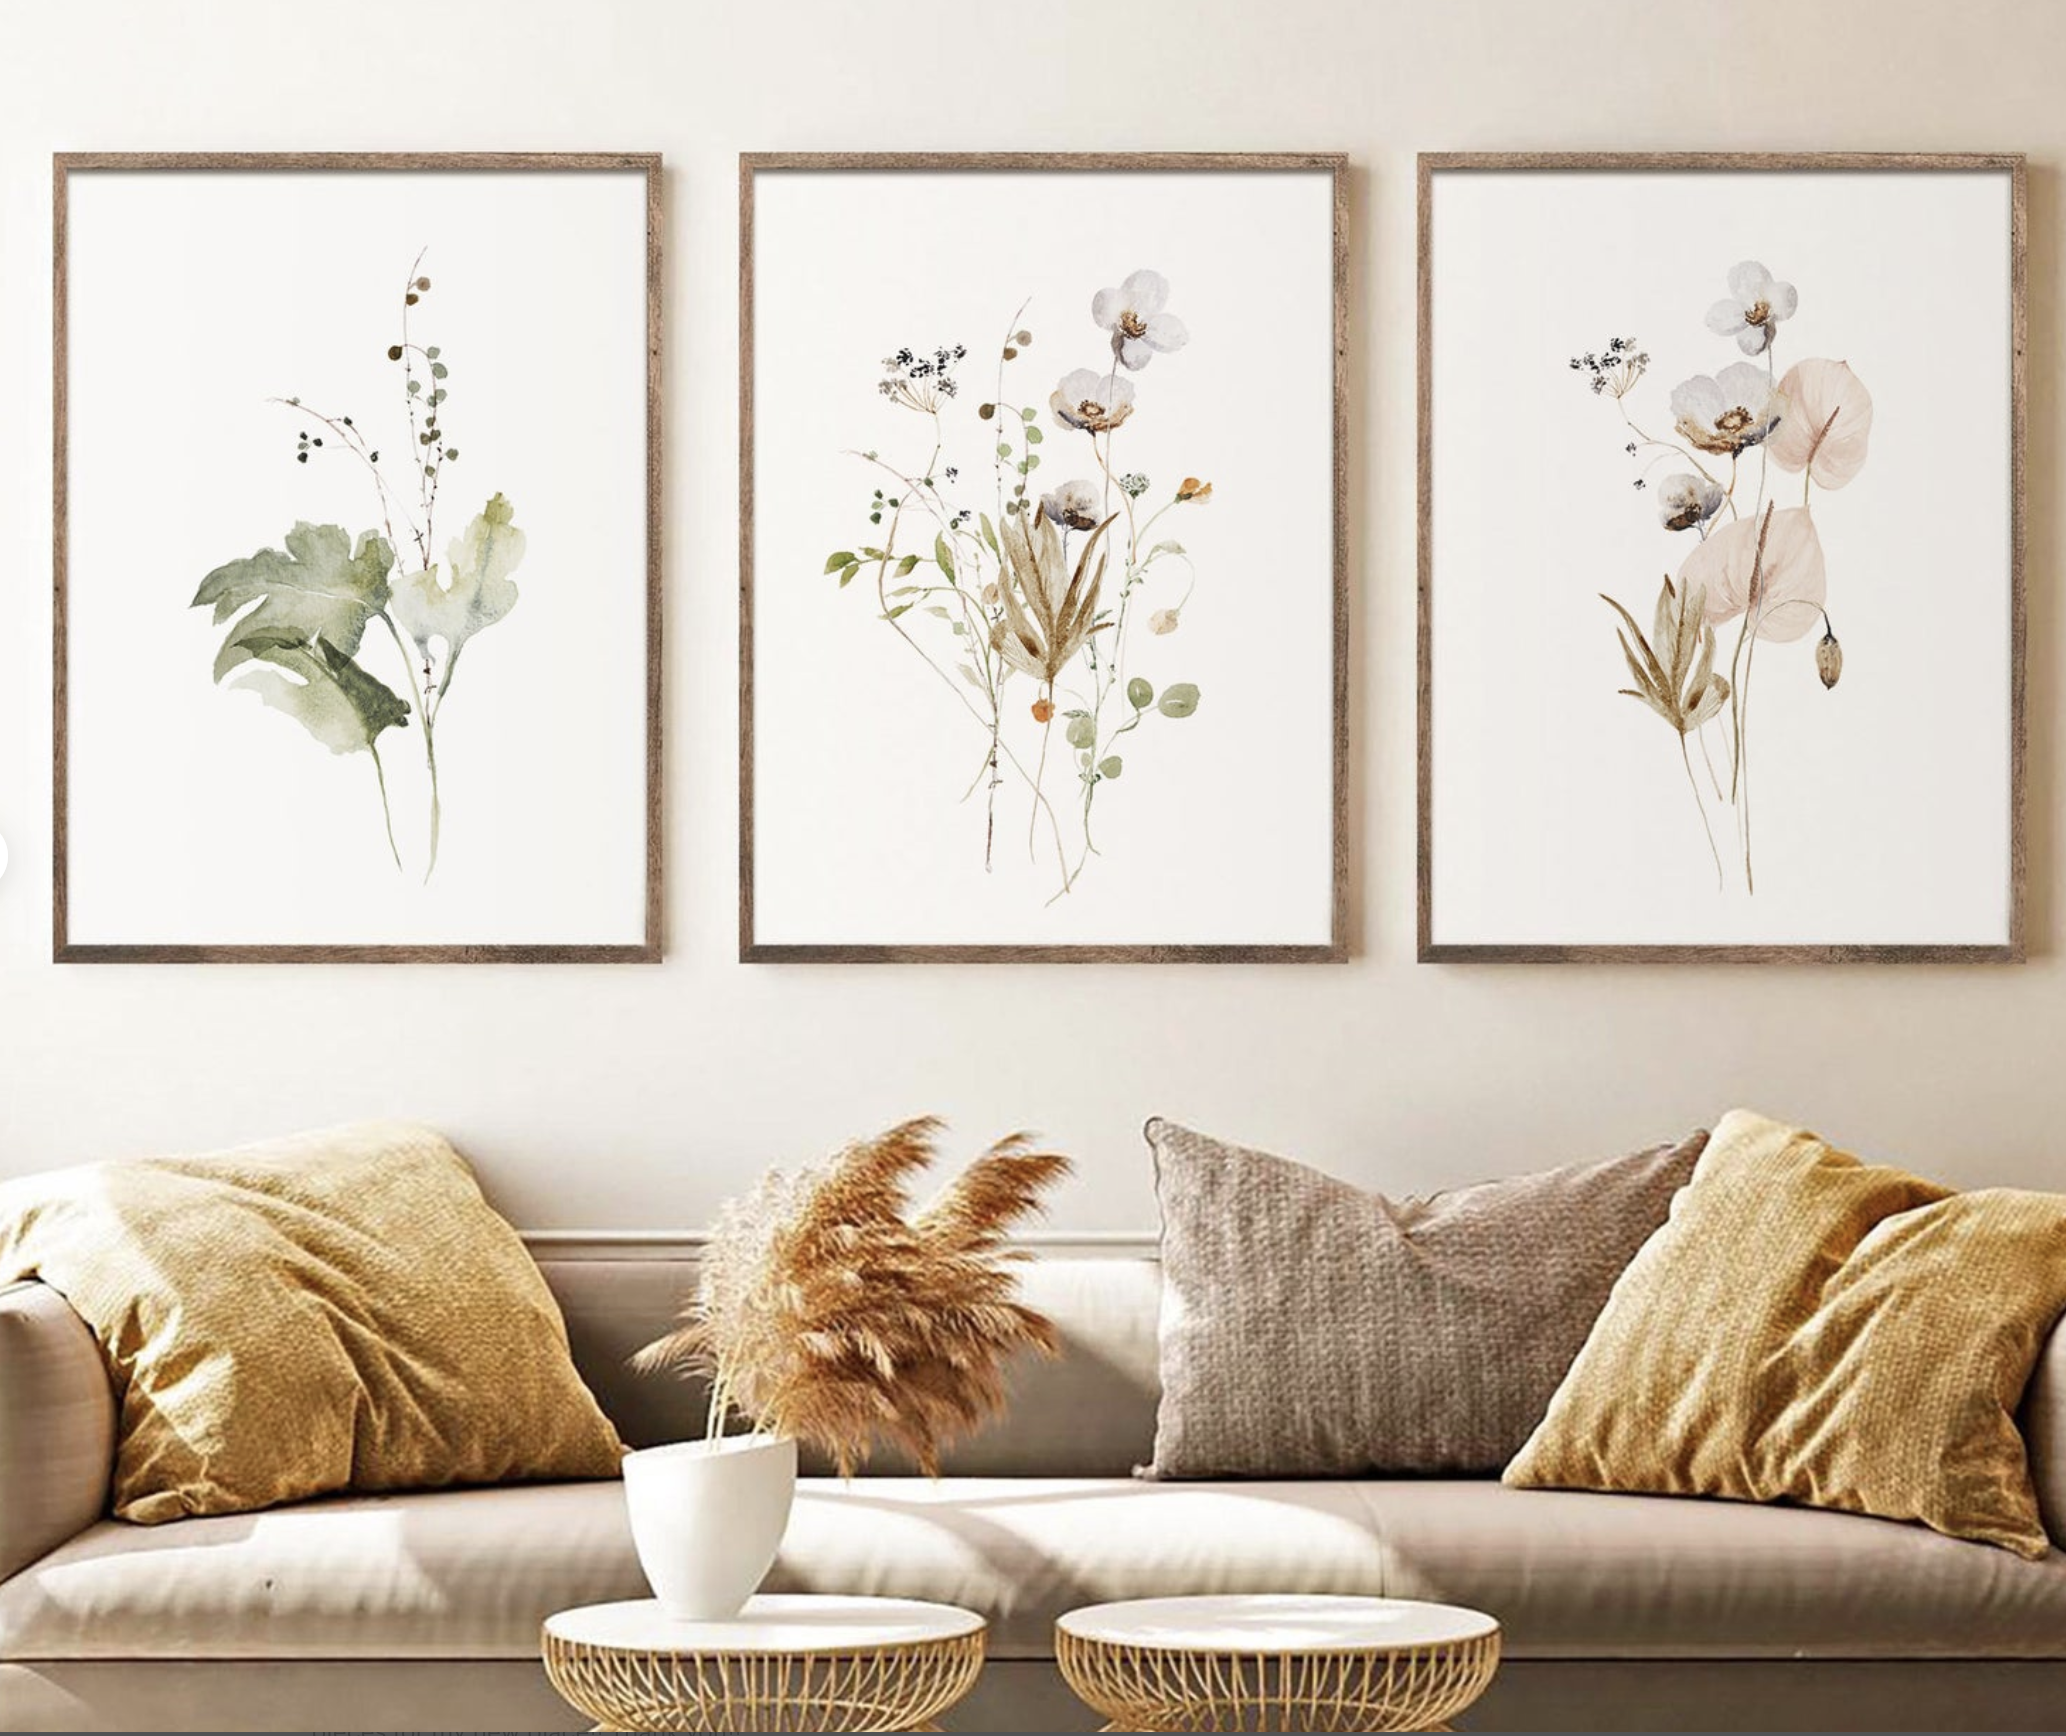
Photographing sets of your product can be a good way to suggest to the customer which of your products complement each other. With a photo of a set, you’ll be enticing your customer to buy more of your products. This can be especially valuable if you offer a quantity discount. If you have a sale which states, “purchase 3 get 15% off,” your photo of a set can be extremely helpful when your customer is making a decision on what to purchase. Three is a magic number when it comes to design and photography. Can you pair three of your products together? If you want to focus on photographing one of your products at a time, you can use the rule of three in your staging. Place three complimentary decorations in the scene with your product.
Shoppers come to Etsy to purchase from the maker! They love the human connection. First, use a tripod or rest your camera on a table or stack of books. Second, use the self-timer or a remote photography click. In addition, showing yourself holding your product will show the size and help your customer envision themselves holding your product too.

When photographing your products, I always like to think about the buyer’s mind and progression through making the purchasing decision. Check out this blog post, here if you want to ensure you are purposefully using each of the photo slots that Etsy gives you. This is game-changing when it comes to converting browsers to buyers. This article breaks down the psychology of photography by marketing with images in your Etsy shop. These Etsy photography tips paired with a knowledge of the buyer’s psychology is a powerful combination.
I would suggest batch working when it comes to photography, meaning taking lots of photographs at one time. This is one of the best time-saving hacks and most practical of the Etsy photography tips. This way you can avoid finding the right light, setting up, getting your camera ready, etc. multiple times. You’ll be happy that you spent the extra time taking multiple photos in one sitting.
Once you are finished photographing you may want to edit your photos. My favorite tools to use are photoshop, download here, and Adobe Lightroom: Photo Editor, download here. I use Adobe Lightroom on my mobile phone. If you would like a step-by-step tutorial on how to edit your photos in photoshop, here’s a video of the steps I use to make my photos look light and bright.
Photography is the number one reason shoppers decide to purchase a particular listing on Etsy, remember to photograph in natural indirect light. You’ll be amazed at the quality of your photos when the lighting is natural and indirect. In addition, you don’t have to have an expensive setup to take impactful photos, posterboard from your craft shop is an inexpensive way to get a clean and bright background. This will make your products stand out. Taking up-close photos of the texture of your product builds trust. Photographing a set of your products will show complementary products and will entice additional purchases.
In conclusion, remember, you are the star of your shop! People come to Etsy to buy from makers, show your beautiful self in your listings, it brings the human connection to shopping, something Etsy shoppers are craving! Above all, with a few edits post photoshoot, you’ll be incredibly proud of your photos and will be seeing more sales within your Etsy shop.
